Boat Winterization Checklist Before Storage: 15 Steps
By Thomas Blanc · Published February 2026 · Updated February 2026 · Based on verified data from our directory
Why Proper Winterization Matters
Skipping winterization steps — even minor ones — can result in cracked engine blocks, corroded electronics, mold, and a boat that costs thousands to repair in spring. This checklist covers everything for powerboats (choosing the right facility? See our indoor vs outdoor comparison); adapt as needed for sailboats and personal watercraft.
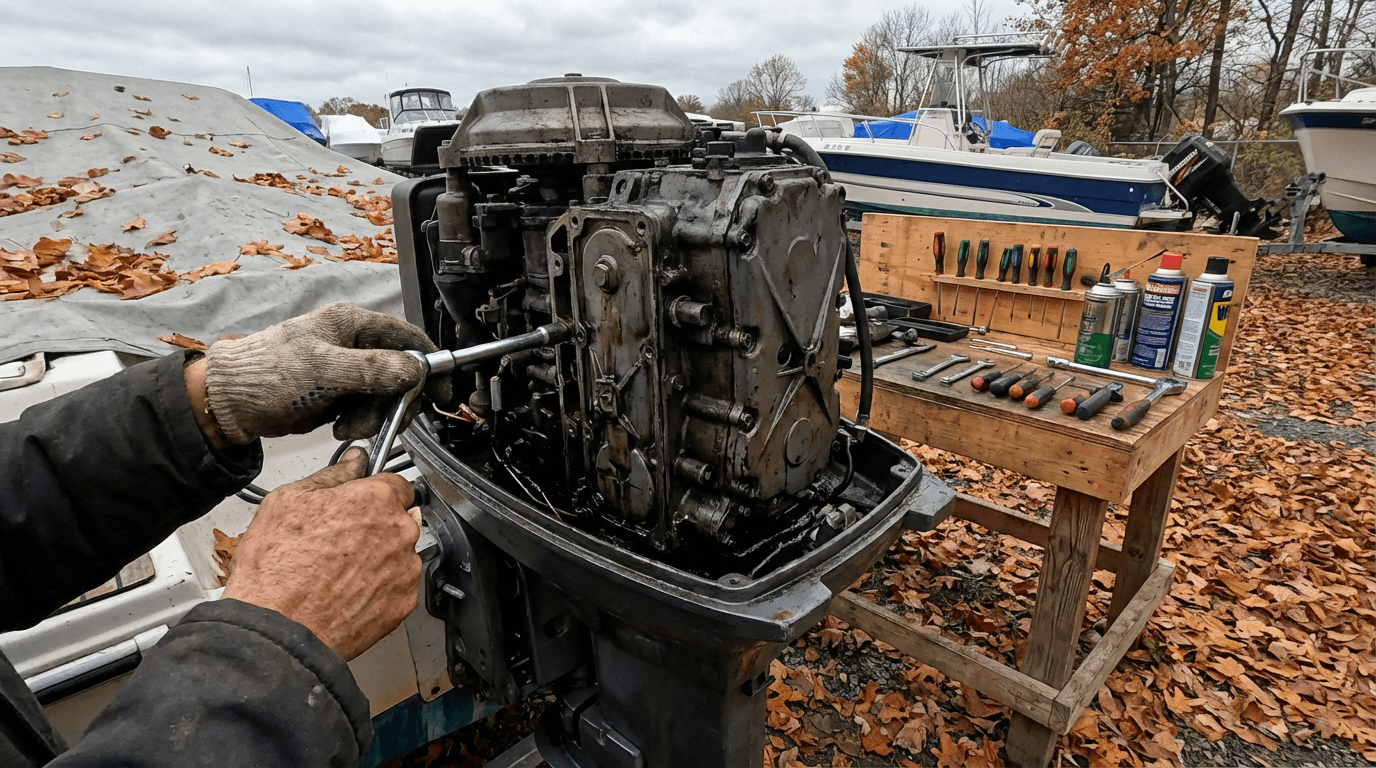
Engine and Fuel System
- Fog the engine: Spray fogging oil into each cylinder while the engine runs, then shut it off. This coats internal surfaces to prevent corrosion.
- Change the engine oil: Used oil is acidic. Fresh oil protects metal surfaces all winter.
- Flush and stabilize fuel: Add fuel stabilizer to a full tank, then run the engine to circulate it. Ethanol-blended fuel degrades in 30 days without stabilizer.
- Flush the cooling system: Drain all raw water from the engine, exhaust manifold, and heat exchanger. For inboard engines, flush with antifreeze-treated fresh water.
- Replace gear lube: Water in gear lube expands when frozen and cracks gear cases.
Electrical System
- Disconnect the battery: Remove and store batteries in a cool, dry place. Charge fully before storage and top up monthly.
- Spray electrical connections: Use a dielectric grease or corrosion inhibitor on all terminals, connectors, and switches.
- Remove electronics if possible: Chartplotters, stereos, and VHF radios can be removed and stored indoors to extend their life.
Bilge and Water Systems
- Dry the bilge completely: Pump dry, then dry with towels. Standing water breeds mold and corrodes metal.
- Winterize freshwater tanks: On boats with onboard water systems, drain tanks and lines completely. Blow out with compressed air or add RV antifreeze.
- Open all seacocks: Leave through-hulls open so they don't seize. Mark them with bright tape so you remember to close them in spring.
Hull and Exterior
- Clean and wax the hull: Wash with marine soap, apply wax. Waxing before storage significantly reduces UV oxidation and spring prep time.
- Check and replace zincs: Anodes protect metal from galvanic corrosion. Replace any that are more than 50% depleted.
- Inspect propeller: Look for nicks, dings, and fishing line wrapped around the shaft. A damaged prop burns more fuel and stresses the drivetrain.
Cover and Storage
- Cover properly: Use a breathable boat cover or shrink wrap. Completely waterproof covers trap moisture and promote mold. Ensure the cover is vented and supported to prevent pooling water.
Final Steps Before Dropping Off at Storage
- Remove all food, trash, and perishables
- Remove life jackets and float plans (store indoors)
- Take photos of the boat's condition for insurance documentation
- Note the facility's gate access hours for spring retrieval. Find verified facilities near you
Complete this checklist before drop-off and your spring launch will be significantly faster and cheaper. A properly winterized boat stored indoors should need little more than a battery reconnect and an engine check before hitting the water. See our spring recommissioning checklist for the full launch sequence.